
Supplies
- FloraCraft® CraftFōM®:
- (3) 4" Egg - White
- (2) 5" Egg - White
- ¼” Craft Batting
- Fabric Squares: Spring Themed
- Ribbon
Tools
- Low-Temp Glue Gun
- Scissors
- Metal Nail File
- (2) Rubber Bands
- Black Marker
Instructions
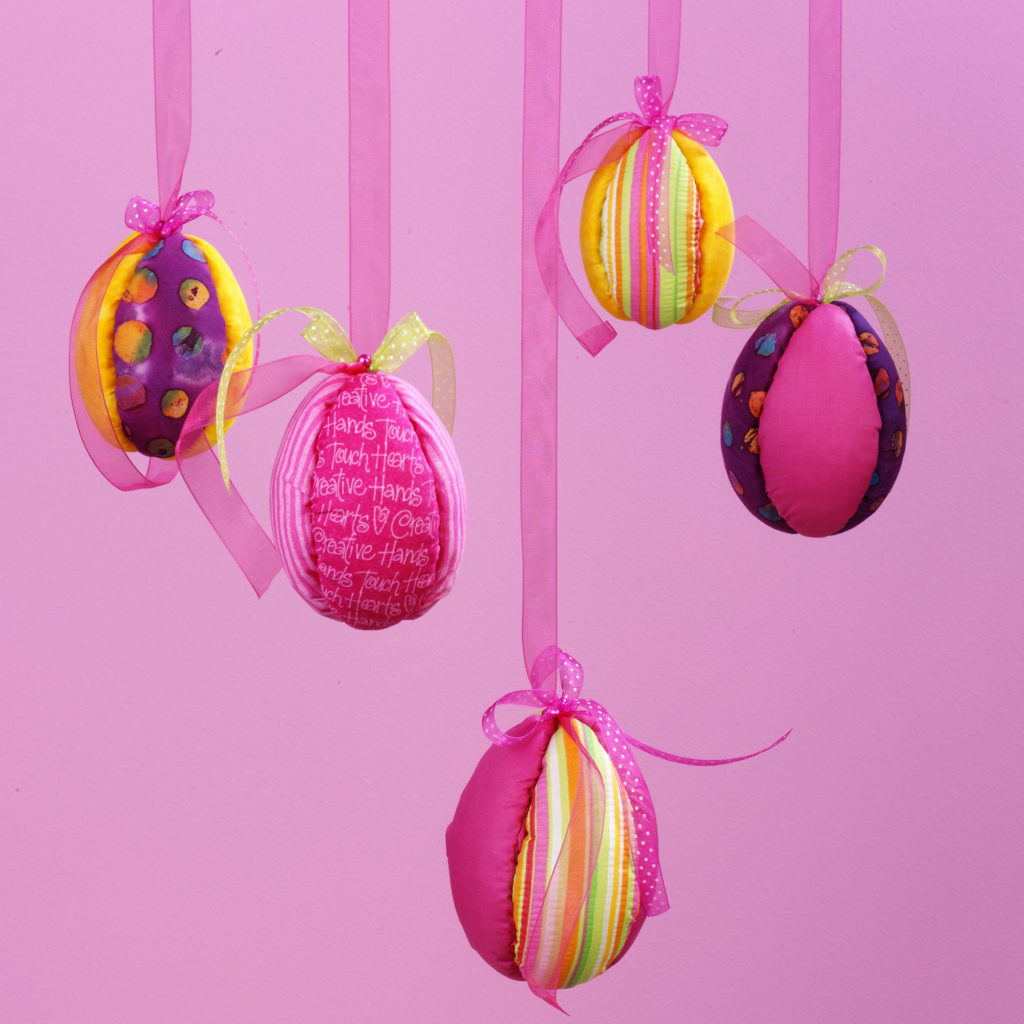
- Wrap a rubber band around an egg of foam* lengthwise to divide it in half equally. Trace to the rubber band with the black marker. Wrap the other rubber band around the egg, lengthwise dividing the egg into quarters and trace next to the rubber band. Remove the rubber bands; you should have four equal sections traced on the egg. Repeat for all eggs.
- Cut pieces of craft batting that are ¼” smaller than the traced section of the egg and glue the pieces, centered, in each of the four sections of each egg.
- Cut pieces of fabric that are ½” larger than the sections on the eggs. Use two coordinating fabrics on each egg or keep all four sections the same. Lay a piece of fabric over the batting centered in the section. Use the metal nail file to tuck the fabric edges into the egg along the traced line. Keep the fabric centered by alternating from side to side as you work around the section. Repeat, tucking the material in the next section into the groove created from the first section to completely cover the egg.
- Tie a small bow and attach it to the top of each egg using low-temp glue.
-
 Celebratory Candy CakeSkill level: Beginner
 -
 Teacher Gift MugSkill level: Beginner
 -
 Bubbling Pumpkin CauldronSkill level: Beginner
 -
 Custom Charcuterie DisplaySkill level: Beginner
 -
 St. Patrick’s Day DecorSkill level: Beginner
 -
 Butterfly Pixel Wall ArtSkill level: Beginner
 -
 Fruit Appetizer TreesSkill level: Beginner
 -
 Easter Egg Table DécorSkill level: Beginner
 -
 Shamrock Porch DécorSkill level: Beginner
 -
 Eyeballs Everywhere WreathSkill level: Beginner
 -
 Narwhal Wall ArtSkill level: Beginner
 -
 Painted Cactus Wall ArtSkill level: Beginner
 Subscribe


