Supplies
- FloraCraft® CraftFōM®:
- (11) 2.5" Eggs - White
- (1) 3" Ball - White
- (2) 4" Discs - White
- Acrylic Paints:
- Yellow
- Green
- Pink
- Purple
- Blue
- Spray Paints:
- Fuchsia
- Bright Green
- 1.5" Alphabet Stickers
- Feather Marabou Boa - Bright Green
- Curling Ribbon - Yellow
- (2) 1/2" Pompoms - Pink
- (2) 1/4" Wood Dowels
- (2) Chenille Stems - White
- 1” Straight Pins
Tools
- Foam Cutter or Serrated Knife
- Low-Temp Glue Gun
- Scissors
Instructions
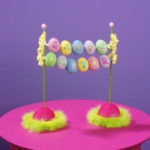
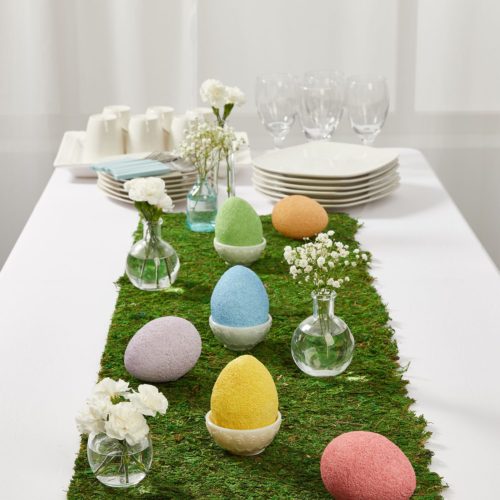
- Paint the eggs with acrylic paints: (2) yellow, (2) green, (2) pink, (2) blue, and (3) purple. Let dry. Thread 5 of the eggs (one of each color) onto a chenille stem, leaving an equal length of stem at either end. Place alphabet stickers spelling “HAPPY,” as shown, and secure them with pins. Thread the last six eggs onto another stem. Pin on the alphabet stickers spelling “EASTER.”
- Cut the dowels to 12” and spray paint them bright green. Let dry. Spray the discs bright green, and be sure to keep the can 12” away. Spray light coats and let each coat dry before applying the next. Use the serrated knife to cut the ball in half. Spray the rounded side of each half fuchsia and let dry. Glue a half ball to the center of each disc. Glue the dowels into the centers of each half ball. Glue a pink pompom to the top of each dowel. Pin a piece of feather boa around the outside edge of each disc.
- Attach the “Happy Easter” strands to the dowel posts by wrapping the chenille stem ends around the dowels. Cut two lengths of curling ribbon and tie them around the posts above the sign.

 Subscribe


