
Supplies
- FloraCraft® CraftFōM®:
- Project Bricks (Approx. 170)
- (1) 2" Rod - WHite
- (1) 3" Rod - White
- Sheets of Scrap Foam (To Hold Bricks While Painting)
- 6 1/2" diameter x 8" tall clear plastic paint can
- Spray Color:
- Flat White
- Orange
- Turquoise
- Olive Bright
- (2) 12" Daisy Bushes - Green
- (4) 4" Daisy Stems - Orange
- Queen Ann Lace Spray - White
- Box of Toothpicks
- Orange Cardstock (1 1/2" x 2 1/2" per Place Card)
- Chevron Print Grosgrain Ribbon - Green (5/8" x 2 1/2" per Place Card)
Tools
- Foam Cutter
- Floral Shears
- Stapler
- Medium Point Felt-Tip Marker - Black
- Newspaper
- Pencil
- Ruler
- Hot Glue Gun and Glue Sticks
Instructions
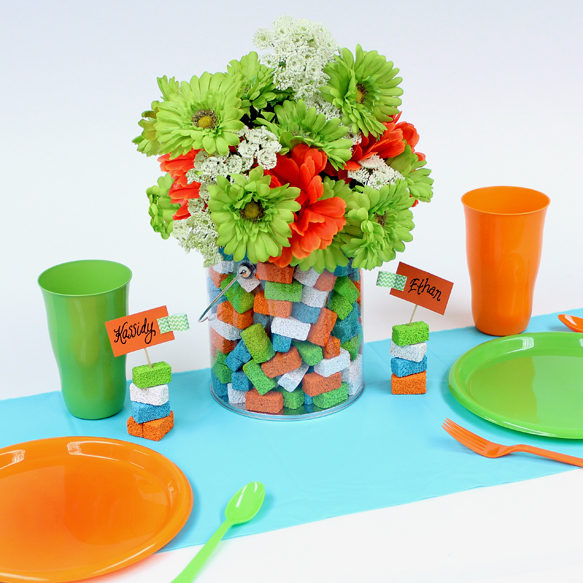
For Floral Arrangement:
- Prepare project bricks to be sprayed by inserting toothpicks into their ends and setting the other ends into the scrap foam. Place them about 1″ apart in rows. (Ideally, divide bricks into four groups, with each group being placed on its own scrap foam.)
- In a well-ventilated, newspaper-covered area, spray all four groups white, first. Let dry. Then spray each of the four groups in one of the four colors (orange, green and blue – giving the white group a second coat of white.) Let dry.
- Use foam cutter to cut foam rod to 5″ length. Hot glue the end of the rod to the bottom center of the bucket. (This provides a way to support the flower stems and fills the core so that fewer project bricks are needed.)
- Begin dropping painted bricks into a bucket, all-around foam rod, taking turns with the four colors to distribute evenly. Fill bricks to the top of the rod.
- Insert two green daisy bushes into the center of the rod. Add orange daisies in among the green. Then use floral shears to trim Queen Ann lace into 8″ lengths and insert among flowers to fill in. Continue to fill the rest of the bucket with painted project bricks, but saving enough bricks to make place cards.
For Place cards:
- Glue together two same-color project bricks side-by-side for a stable — glue three more bricks on top of one other at angles. Insert a toothpick in the top brick. Repeat to make as many place cards as needed.
- Use floral shears to cut 1 1/2″ x 2 1/2″ cardstock for each place card. Staple a folded 2 1/2″ length ribbon to one short side. Write name and then hot glue to the top of the toothpick. Arrange with color-coordinated tablecloth, paper plates, napkins, and plastic utensils.
-
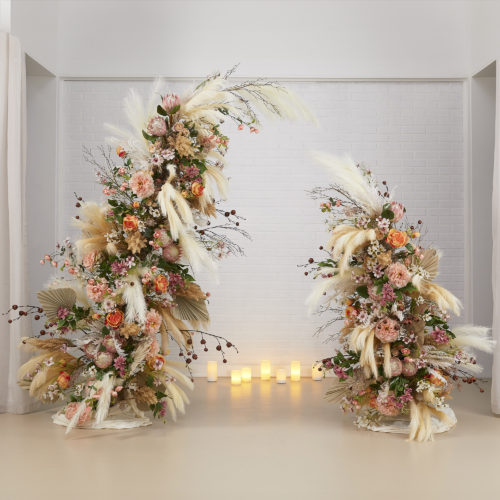 Boho Broken Arch BackdropSkill level: Beginner
 -
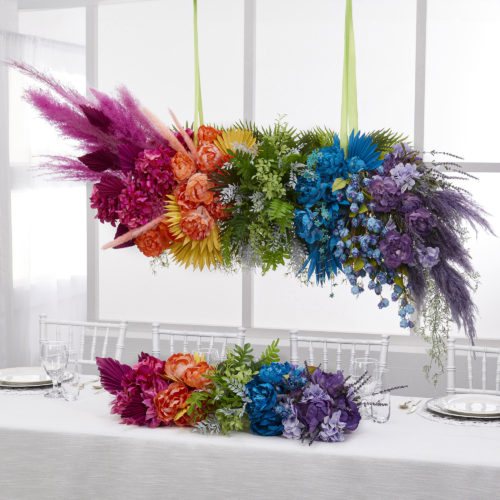 Rainbow of Florals Hanging ArrangementSkill level: Beginner
 -
 Leafy Green Double Wire WreathSkill level: Beginner
 -
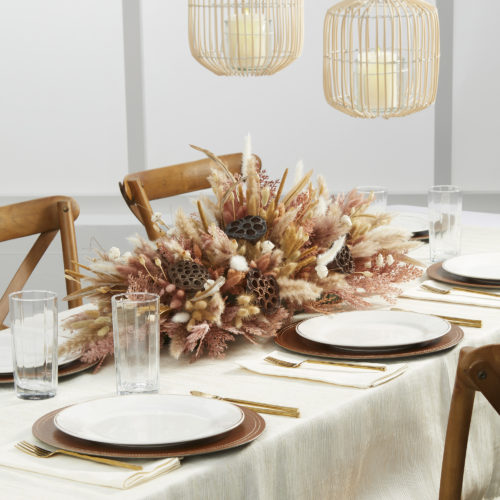 Rustic Dried Floral Table CenterpieceSkill level: Beginner
 -
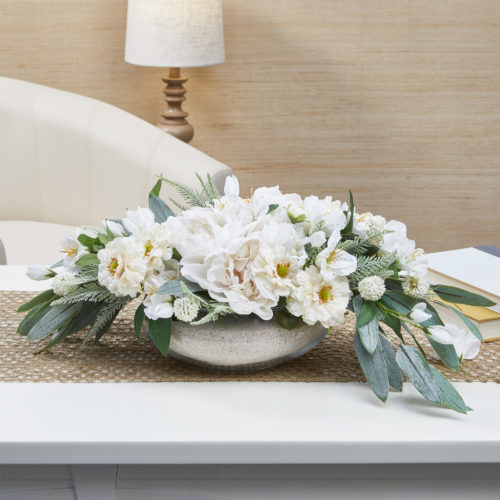 White Floral CenterpieceSkill level: Beginner
 -
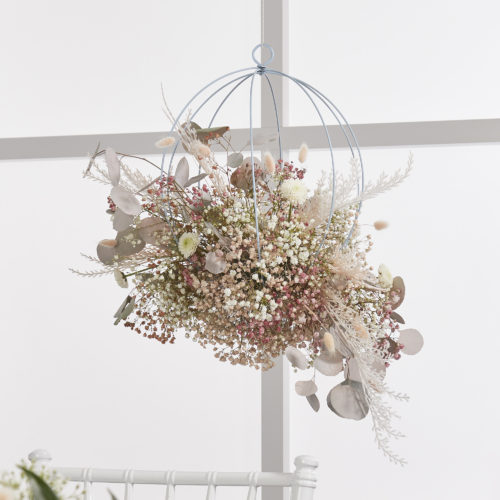 Pale Pink Dried Floral SphereSkill level: Beginner
 -
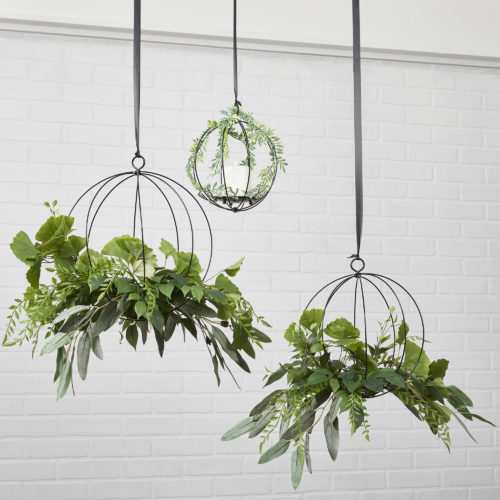 Green Foliage Hanging TrioSkill level: Beginner
 -
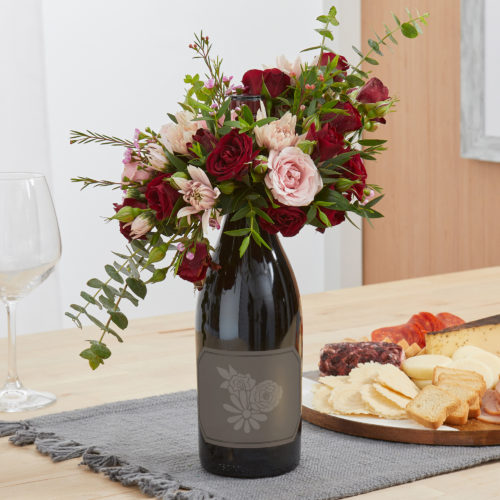 FloraCheers!® Bottle Bouquet ArrangementSkill level: Beginner
 -
 Holiday DécoBar CenterpieceSkill level: Beginner
 -
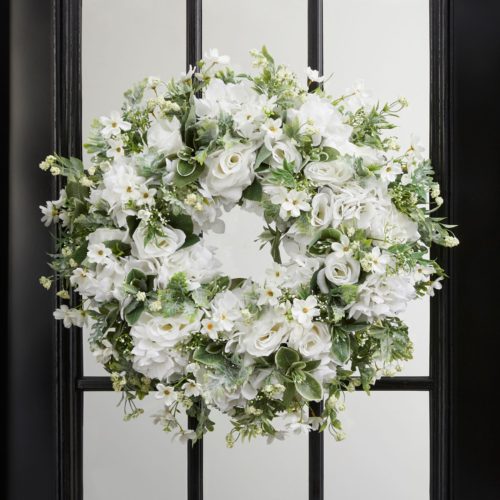 Lush White Hydrangea WreathSkill level: Beginner
 -
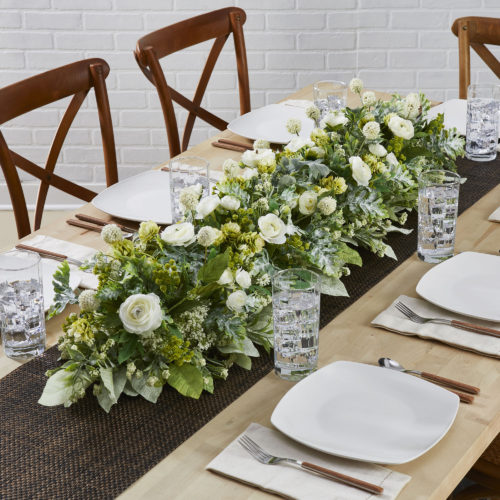 Long Floral Table CenterpieceSkill level: Beginner
 -
 Mom Memorial WreathSkill level: Beginner
 Subscribe


