
Supplies
- FloraCraft® FloraFōM®:
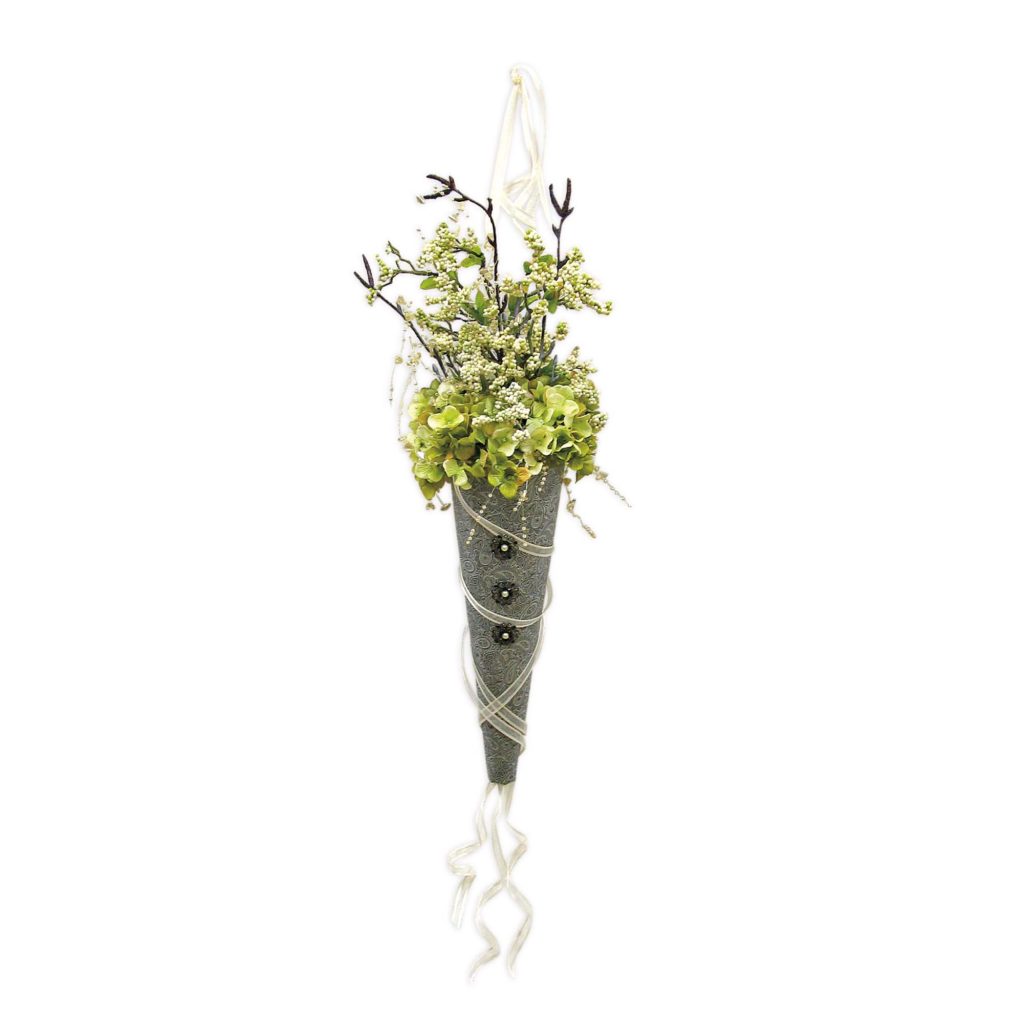
- (1) Cone 3.8" x 11.9" -- Green
- 12" x 12" Black Paisley on Silver Paper
- (3) 1" Metal Accents
- (5) Green Hydrangea Stems
- (3) Twig/Willow Branches
- (1) Clustered Berry Branch
- 4 ½ yd. Length of 3/8" Wide Ivory Sheer Ribbon
- 18” Ivory Pearl Bead Garland
Tools
- Extra Strength Glue Stick
- Tacky Glue
- Knife
- Scissors
- Side Cutter
Instructions
- Place paper at a diagonal, paisley side down on the work surface. Vertically position the cone with a narrow end about ½” from the bottom corner of the paper and wrap the paper around the cone. Hold in one hand and with the other hand, use scissors to trim the excess paper from the side and cut paper even with the top of the cone. (Note: Not all of the cone will be covered.) Allow the paper to uncurl away from the cone. Apply glue stick to cone and re-wrap paper, securing it in place. Trim excess paper to piece, using a glue stick to attach where cone shows.
- At the narrow end of the cone cut ½” long slits in paper, fold, trim as needed, and use tacky glue to seal the bottom of the cone.
- Plan placement of stems and branches in the cone. Cut apart hydrangea stems and berry branches. Trim twig/willow branches to desired heights. Insert tallest parts of arrangement into the cone. Insert hydrangea stems around the top of the cone to cover. Use tacky glue to secure the end of the bead garland and wrap around the top of the cone and string the rest of the garland through branches. Glue the other end to secure.
- Center and attach metal accents onto the front of the cone.
- For tails, cut two 15″ lengths from ribbon and set aside. For hanger, cut two 24″ lengths ribbon. Use an X-Acto® knife to make small slits on top of each side of the cone. Use tacky glue to glue the ends of the ribbon and use a knife to help push ribbon ends into slits in the cone. With both other ends, make an overhand knot about 3” in, creating a hanger loop to use when the glue is dry.
- Insert remaining ribbon at top of the cone, wrapping and draping around the cone. Randomly place tacky glue dots to secure ribbon at contact points on the cone. Allow ribbon end to hang at the bottom. Similarly, make slits in the bottom of the cone and insert ends of 15″ lengths, allowing them to hang from the bottom. Diagonally trim ribbon ends at the desired length. (Optional: Carefully curl ends with warm hair-curling iron.
-
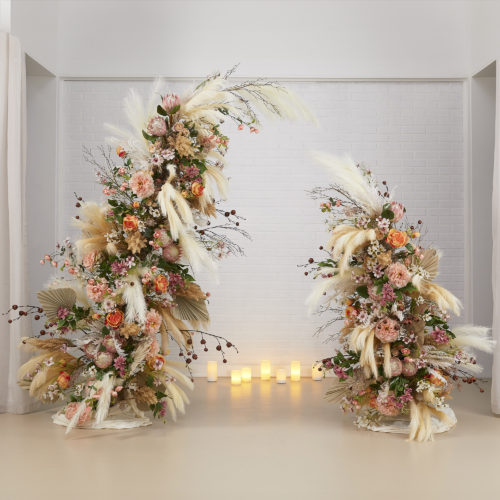 Boho Broken Arch BackdropSkill level: Beginner
 -
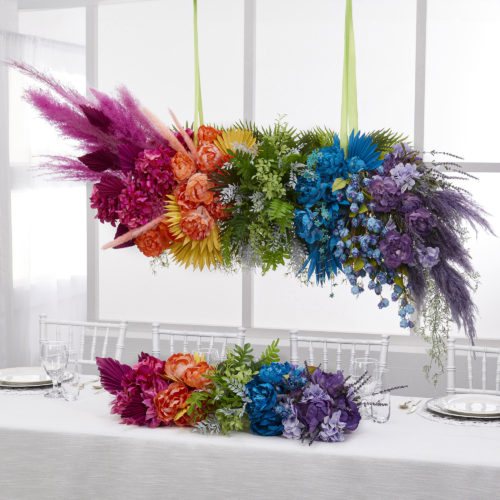 Rainbow of Florals Hanging ArrangementSkill level: Beginner
 -
 Leafy Green Double Wire WreathSkill level: Beginner
 -
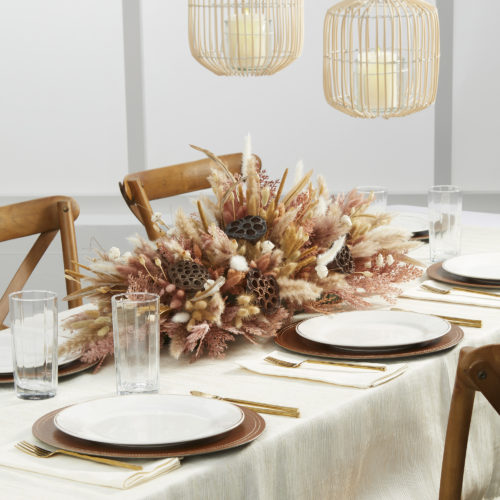 Rustic Dried Floral Table CenterpieceSkill level: Beginner
 -
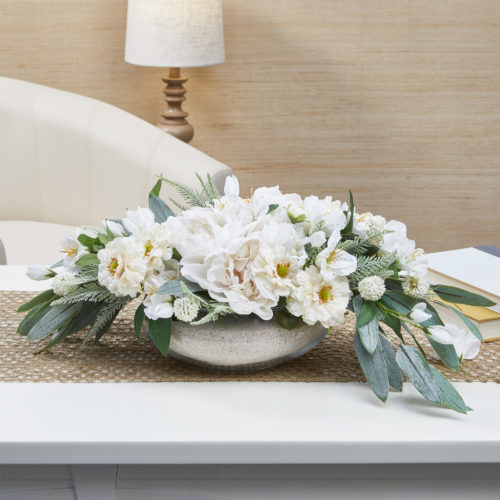 White Floral CenterpieceSkill level: Beginner
 -
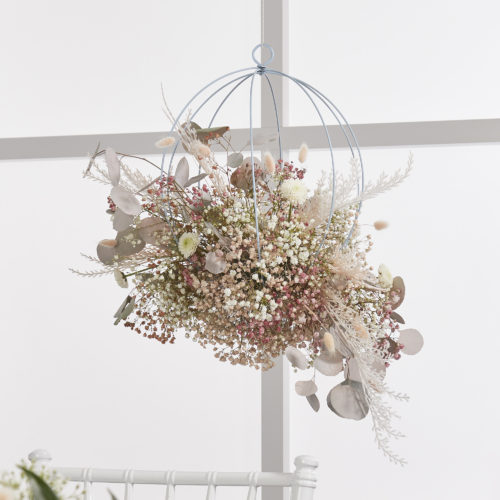 Pale Pink Dried Floral SphereSkill level: Beginner
 -
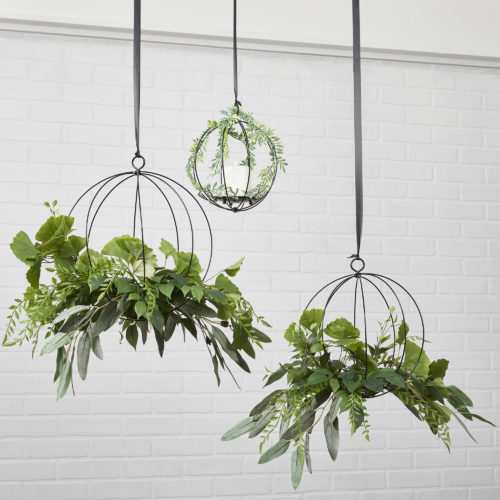 Green Foliage Hanging TrioSkill level: Beginner
 -
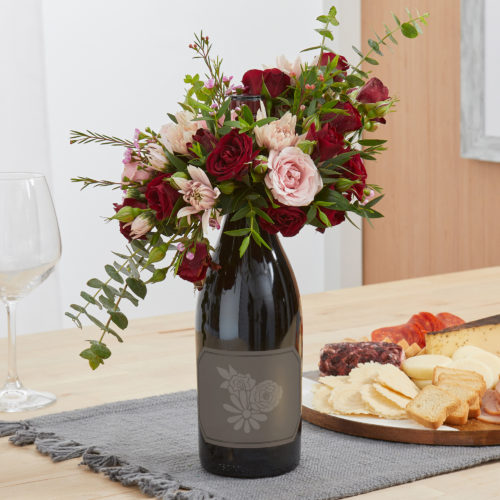 FloraCheers!® Bottle Bouquet ArrangementSkill level: Beginner
 -
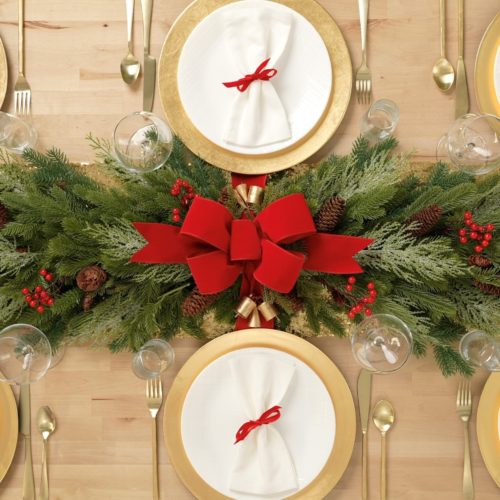 Holiday DécoBar CenterpieceSkill level: Beginner
 -
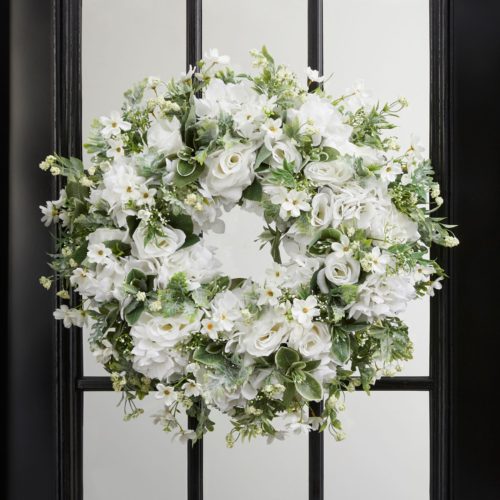 Lush White Hydrangea WreathSkill level: Beginner
 -
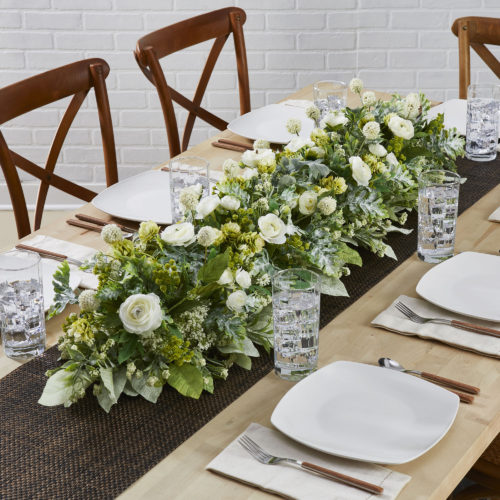 Long Floral Table CenterpieceSkill level: Beginner
 -
 Mom Memorial WreathSkill level: Beginner
 Subscribe


