


Supplies
- FloraCraft® CraftFōM®:
- (2) 1”x12”x36” Sheets - White
- (1) 6" Disc - White
- Acrylic Paint - Black
- Scrapbook Paper - Orange Halloween Print
- Tissue Paper - Orange
- Poster Board - Black
- Sparkle Decoupage
- Battery-Operated LED String Lights
- Cardstock
Tools
- FloraCraft® StyroCutter®
- Floral Pins
- Low-Temp Glue Gun
- Scissors
- Paint Brush
- Double-Stick Tape
- Templates
- Haunted House_Large
- Haunted House_Small_Bottom
- Haunted House_Small_Top
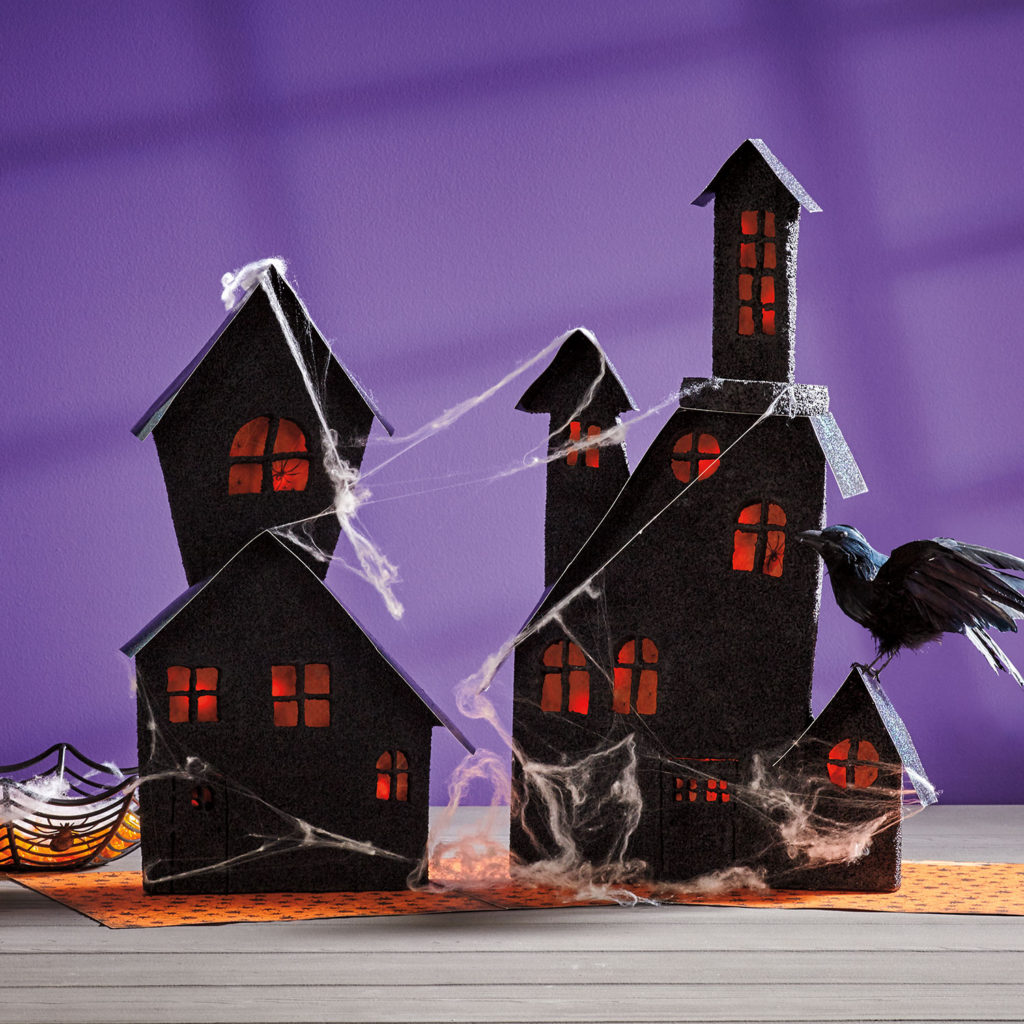
Instructions
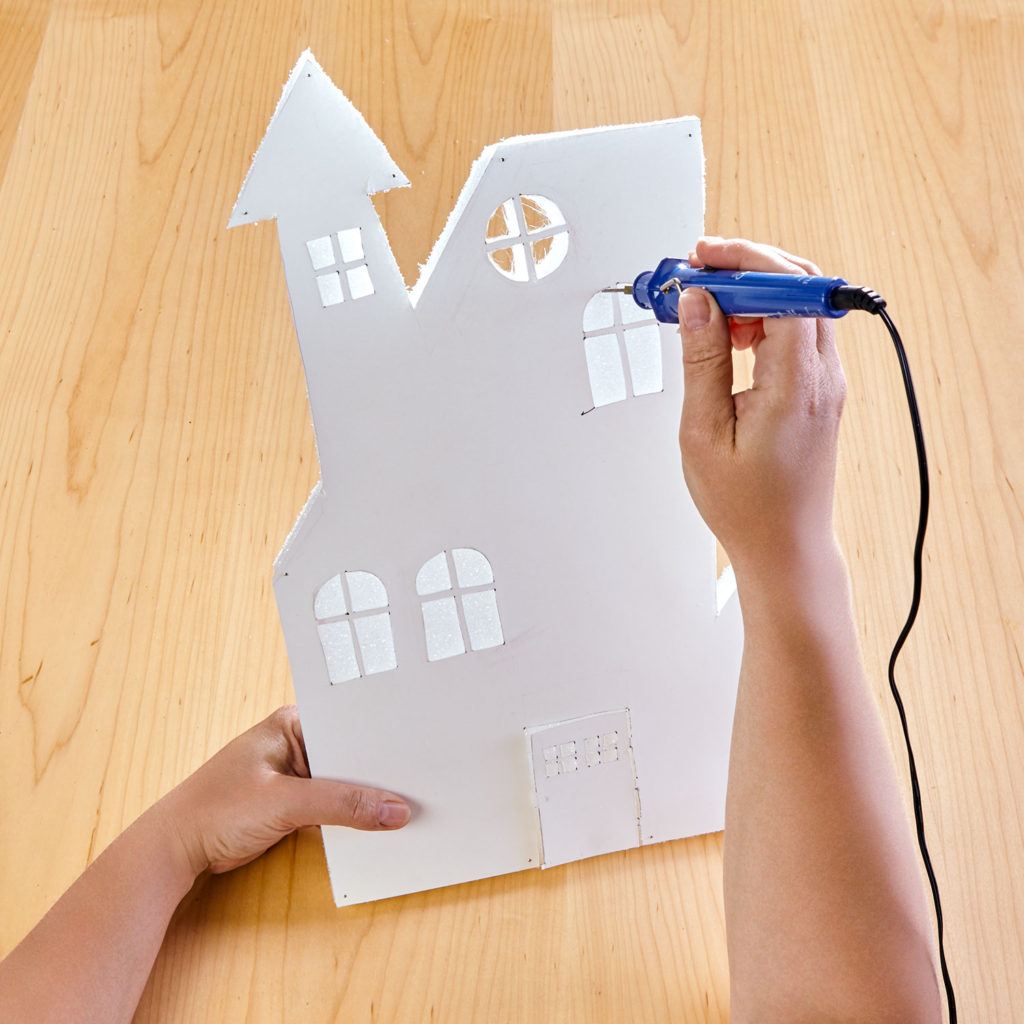
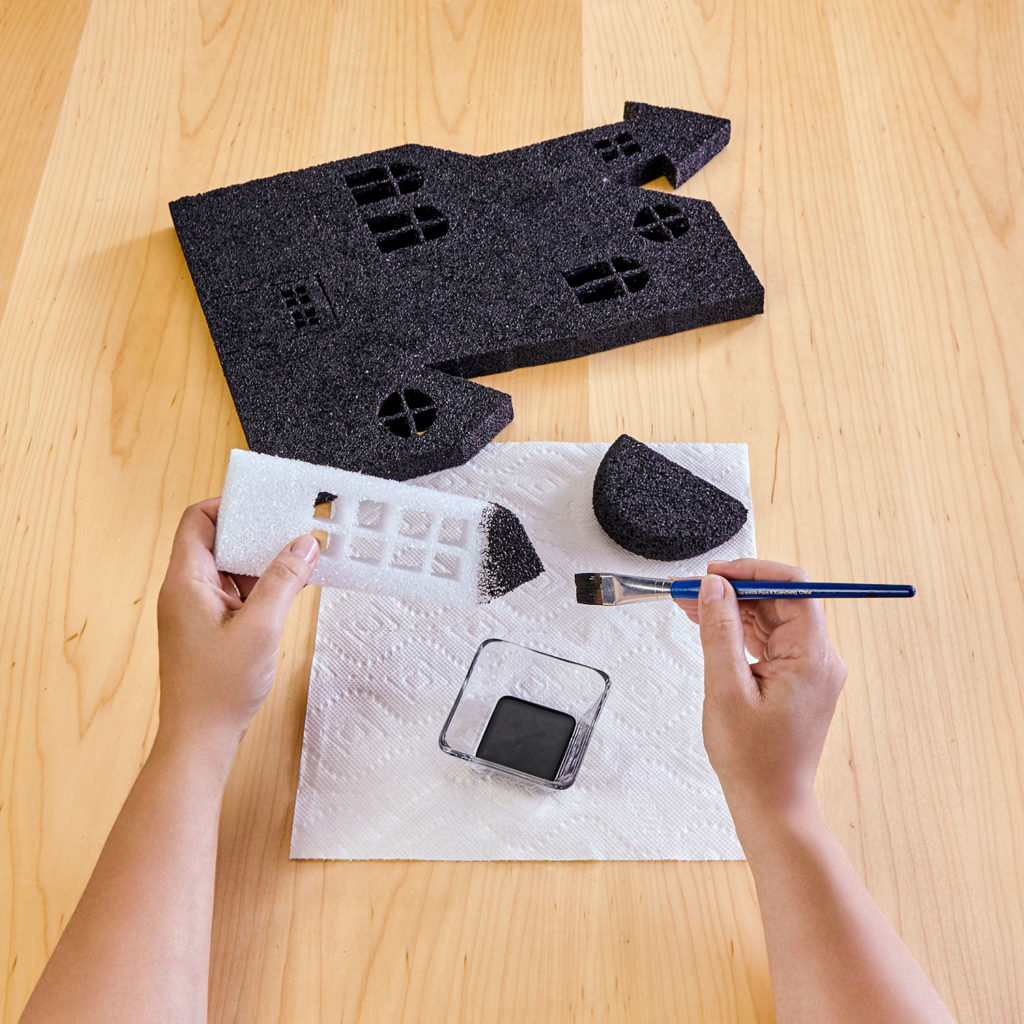
- Print templates on cardstock and cut them out—pin templates to the foam sheets. Following the packaging instructions, carefully cut out the house parts using the StyroCutter® Plus. Hold the blade of the cutter at a 90-degree angle to the foam to ensure a straight cut edge. Keep a slow pace and do not force the blade. Paint all parts black and let dry.
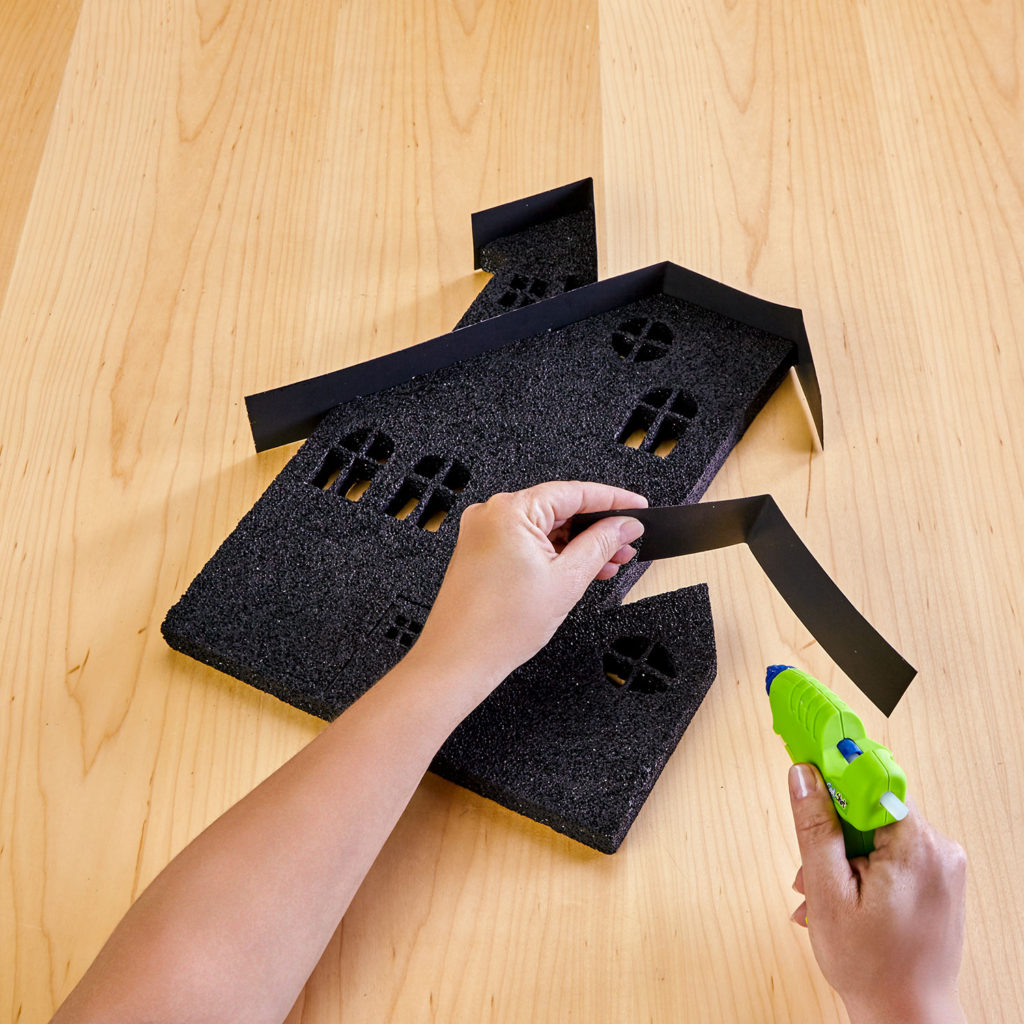
- Cut 2” strips of black poster board for the rooftops. Measure each rooftop to see how long each poster board strip needs to be. Allow a little overhang on each roof, as shown. Brush each rooftop with sparkle decoupage and let dry. Glue the rooftops in place on the houses.
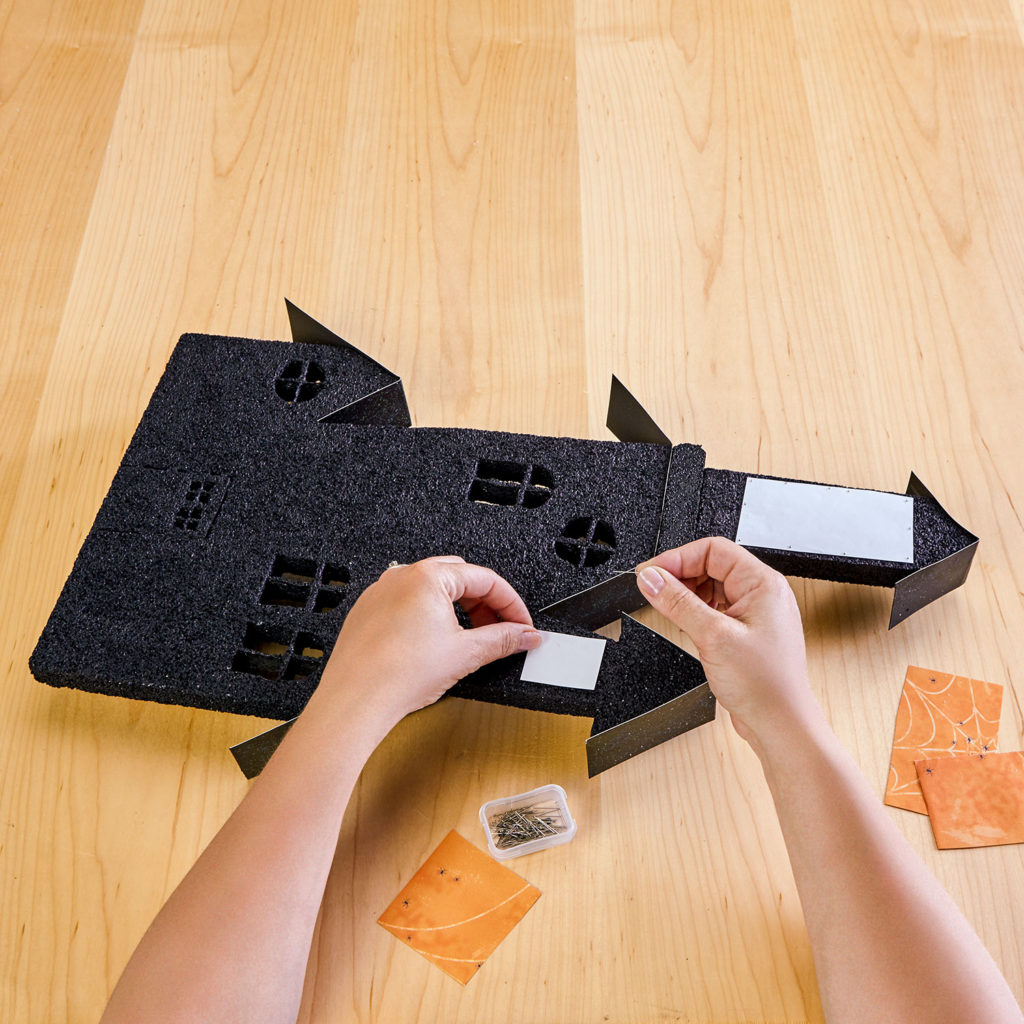
- Glue the tall window to the top, back edge of the half circle. Glue to the top of the house, so the window and the half circle are flush with the back of the house. Glue the smaller top portion of the other house to the top, back side of the larger bottom portion to create the two-story house. Cut squares of orange scrapbook paper and pin them to the back of the windows.
- Cut the 6” disc in half. Glue the cut edge of each half disc to the back and bottom edge of each house for a stand.
- Wrap small squares of orange tissue paper around the LED lights to create an orange glow. Thread the lights through a floral pin and pin to secure them in place behind the windows. Do not pin through the wire. Push the pins into the house at an angle so they will not stick through to the front. Attach the battery pack to the disc with double-stick tape to store it out of sight.
-
 Celebratory Candy CakeSkill level: Beginner
 -
 Teacher Gift MugSkill level: Beginner
 -
 Bubbling Pumpkin CauldronSkill level: Beginner
 -
 Custom Charcuterie DisplaySkill level: Beginner
 -
 St. Patrick’s Day DecorSkill level: Beginner
 -
 Butterfly Pixel Wall ArtSkill level: Beginner
 -
 Fruit Appetizer TreesSkill level: Beginner
 -
 Easter Egg Table DécorSkill level: Beginner
 -
 Shamrock Porch DécorSkill level: Beginner
 -
 Eyeballs Everywhere WreathSkill level: Beginner
 -
 Narwhal Wall ArtSkill level: Beginner
 -
 Painted Cactus Wall ArtSkill level: Beginner
 Subscribe


