
Supplies
- FloraCraft Straw Wreaths:
- 8"
- 10"
- 12"
- 14"
- 16"
- 18"
- 20"
- 24"
- 24" Straw Swag
- Moss-Covered Balls:
- (2) 4"
- (2) 6"
- Assorted Permanent Fall Silks, Fruit, and Pumpkins
- Corkscrew Willow Branch
- Design Master Paint, Dark Chocolate
- Bindwire - Natural
- (2) Large Tomato Cages
- Cinder Block
Tools
- Wire Cutters
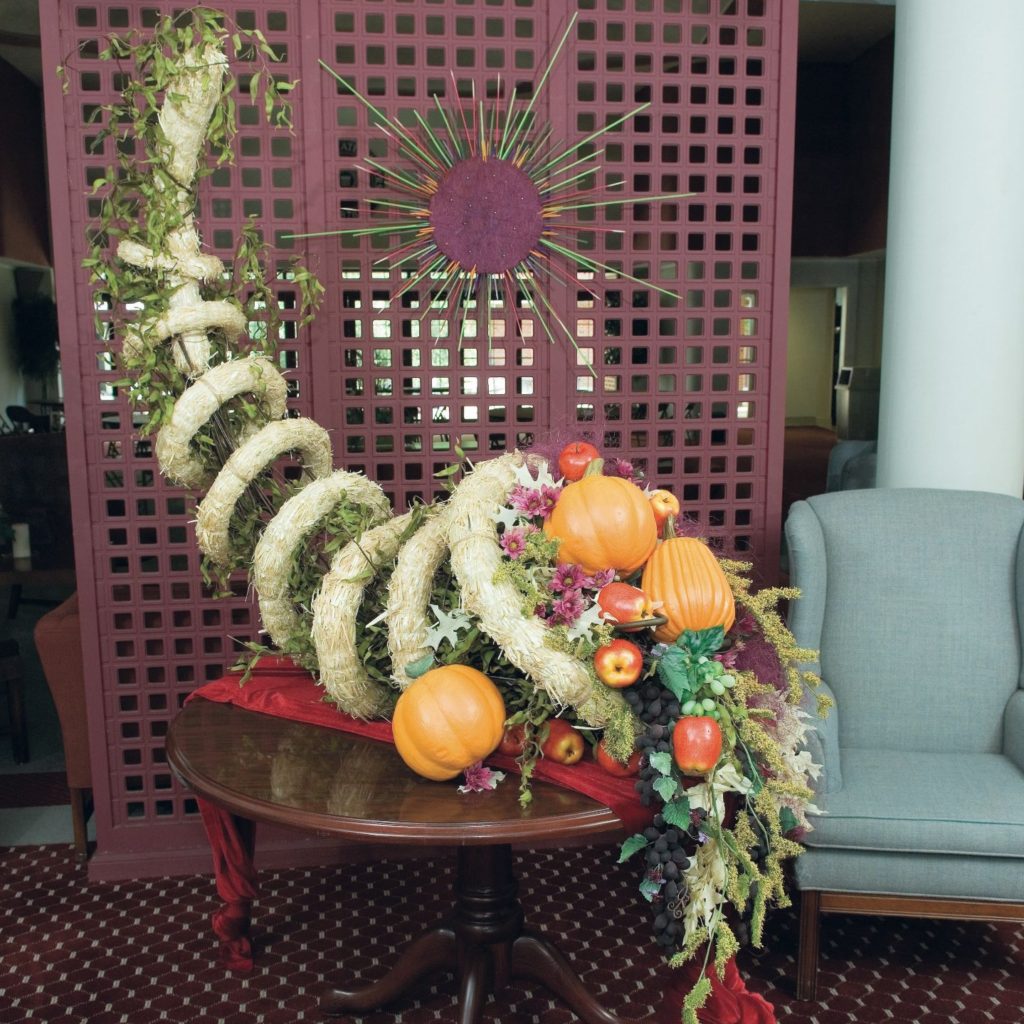
Instructions
- Wire together the two tomato cages, one inside the other. The cages form the armature for the container design. Paint the cages and the cinder block using the Design Master Dark Chocolate or other dark, neutral color.
- Wire the straw wreaths firmly to the tomato cage armature, starting with the largest and working towards the smallest.
- The larger wreaths will require about four to six binding points, while smaller wreaths will require three to four. Wire the straw swag inside the 10″ and 8″ wreaths to make an attenuated tail to the horn. Bend the finished design to give the horn a curve. This gives the finished cornucopia a more rhythmic, professional appearance.
- Fill the horns’ interior with corkscrew willow branches. Place the cinder block into the large end of the horn, just inside the 24″ wreath. The block will provide enough physical weight to hold the cornucopia in place. It also acts as a mechanic for staging large placements such as pumpkins.
- Wedge the Moss Covered Spheres between the block and the inside of the straw wreath. These decorative spheres also become a mechanic for anchoring fall silks and fruit placements.
-
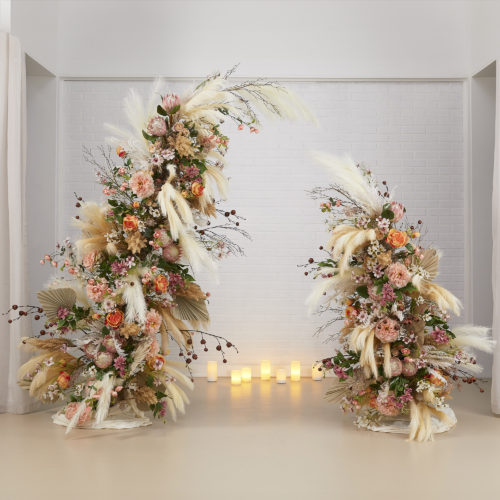 Boho Broken Arch BackdropSkill level: Beginner
 -
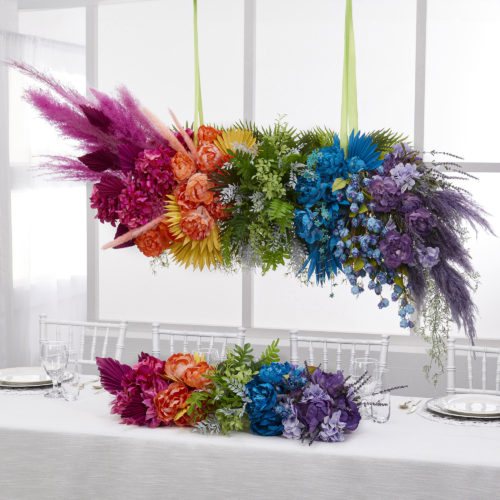 Rainbow of Florals Hanging ArrangementSkill level: Beginner
 -
 Leafy Green Double Wire WreathSkill level: Beginner
 -
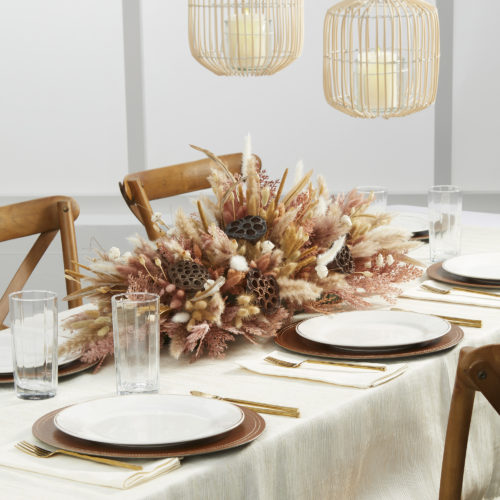 Rustic Dried Floral Table CenterpieceSkill level: Beginner
 -
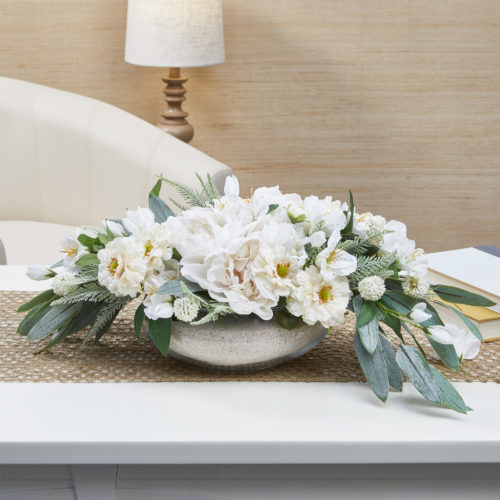 White Floral CenterpieceSkill level: Beginner
 -
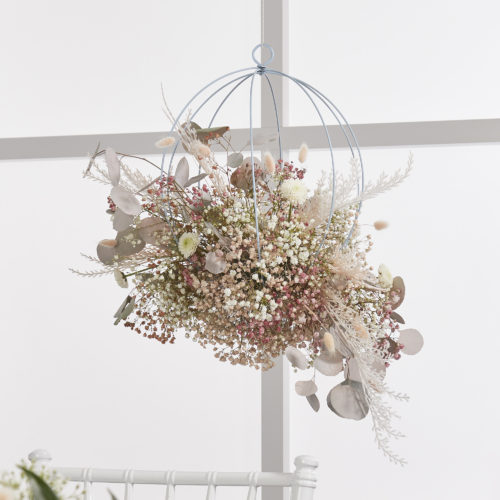 Pale Pink Dried Floral SphereSkill level: Beginner
 -
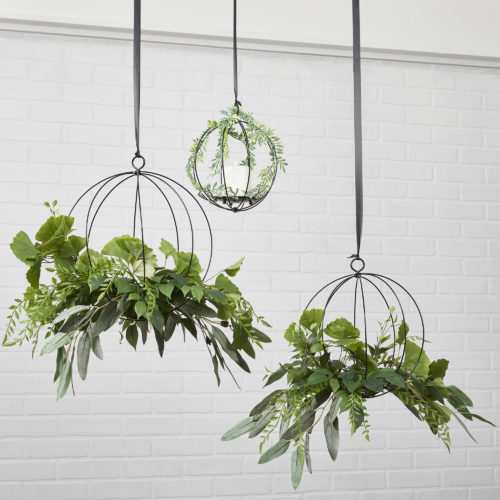 Green Foliage Hanging TrioSkill level: Beginner
 -
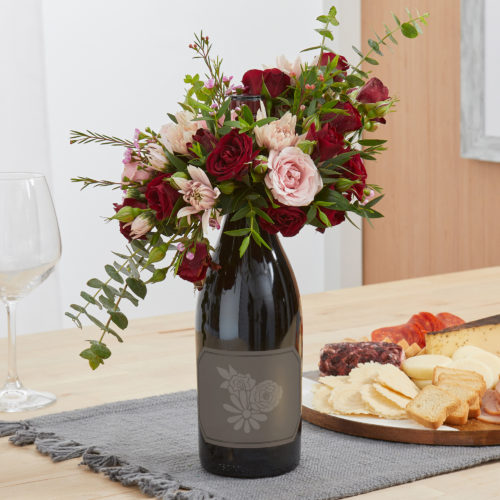 FloraCheers!® Bottle Bouquet ArrangementSkill level: Beginner
 -
 Holiday DécoBar CenterpieceSkill level: Beginner
 -
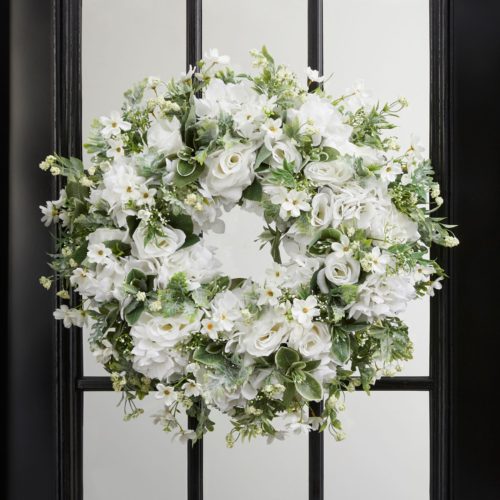 Lush White Hydrangea WreathSkill level: Beginner
 -
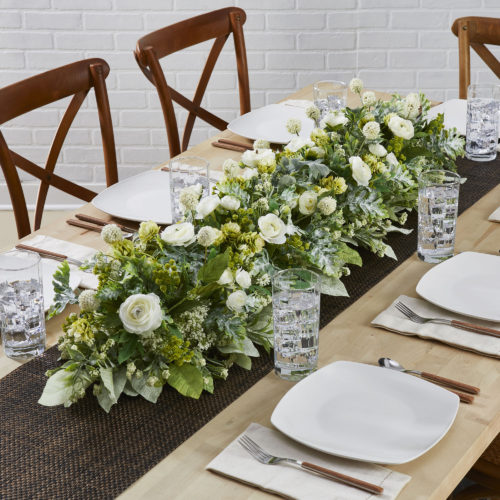 Long Floral Table CenterpieceSkill level: Beginner
 -
 Mom Memorial WreathSkill level: Beginner
 Subscribe


